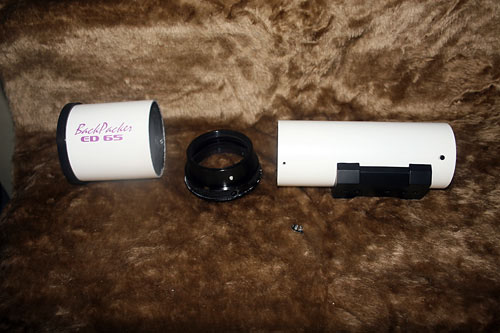

| Parts I used |
| 1 - BackPacker ED65 Front Cell and Tube Assembly - Burgess Optical |
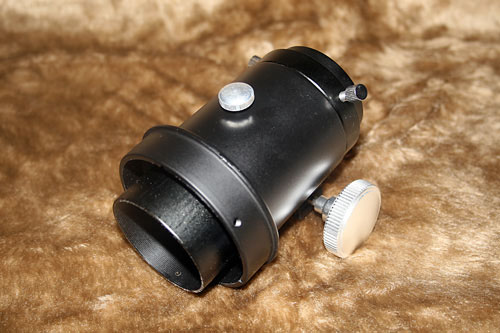
| 1 - Focuser for the BackPacker ED65 - Burgess Optical |
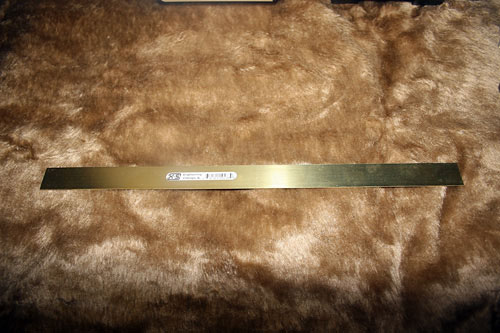
| 1 - 12" x 3/4" x 1/64" Brass Strip - K&S Engineering, Chicago, IL |
| Power Drill |
| 7/64" Drill Bit |
| 5/32" Drill Bit |
| Heavy Duty Scissors |
| Phillips Head Screwdriver |
|
|
|
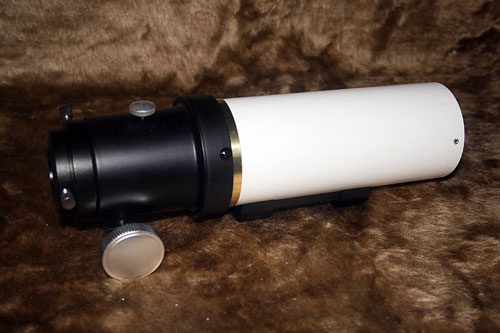
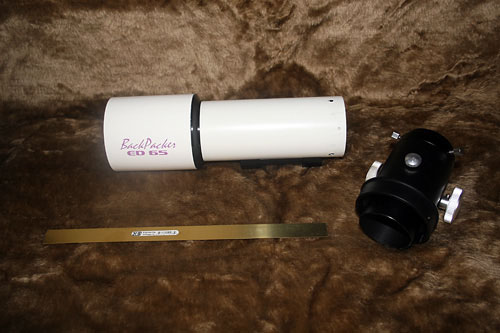
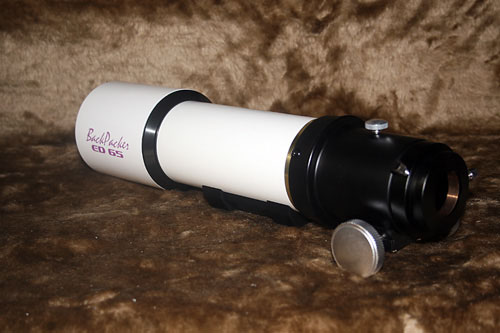
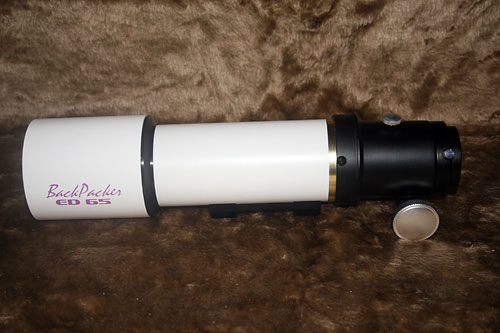
| This is the Burgess Optical ED65 Backpacker Optical Tube, already fixed, the focuser from Burgess, and a brass strip for shimming the focuser to the tube. | This is the focuser that Burgess made available to us. It is a rack and pinion focuser, but is pretty nice, and rather smooth. |
|
|
|
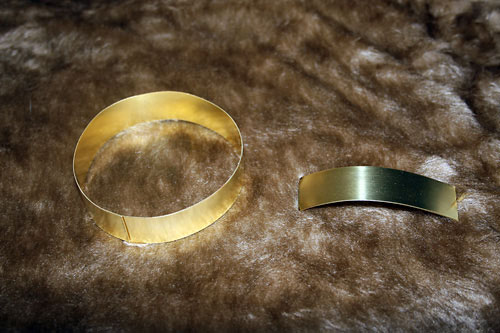
| The inside diameter of the R&P focuser flange is 73.94mm. The outside diameter of the scope tube is 73mm. This leaves a difference of .94mm. This brass strip is .4mm thick, which give .8mm of the .94mm we need. After a quick test, it is a near perfect fit. The strip is 3/4" wide to cover the screw holes already in the tube that will not be used. You can use foil tape to shim the tube, but I think this brass strip looks really classy. | Now would be a good time to remover the ED65 Dew Shield and Optical Cell Assembly. Set it safely aside somewhere, along with the screws. You will be drilling into the tube, and you do not want to expose the lens elements to metal shavings. |
|
|
|
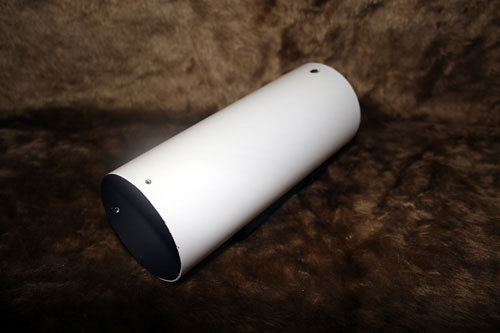
| This is what you should be working on. This is the Body Tube. Open on both ends, you might want to make what side you will be working on. Don't laugh. It won't be funny if you drill the wrong end. | I cut the strip to 9 1/8" in length. I used a pair of heavy duty scissors to cut it. Then, I slowly rolled the strip into a ring slightly smaller than the size of the tube. I then trimmed a little off the ends to leave a gap for the screw at the bottom |
|
|
|
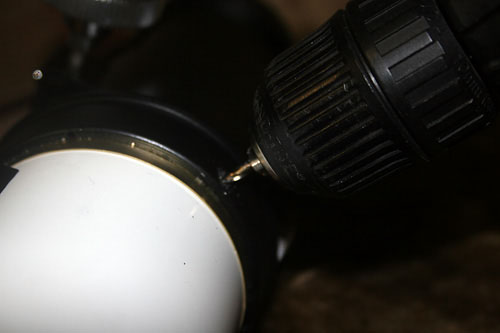
| I placed the strip around the body, with about 1/2 of the strip overhanging the end of the tube. You can then slip the focuser flange over the brass strip, then slide the focuser over the brass strip and the bras strip over the body. Then, rotate the strip and focuser to set the brass seam at the bottom. Here you can sort-of see the gap at the bottom. | Holding it all in place, put the 7/64" bit in the drill and use the holes in the focuser to drill through the brass strip and the body. Do this for all three holes. |
|
|
|
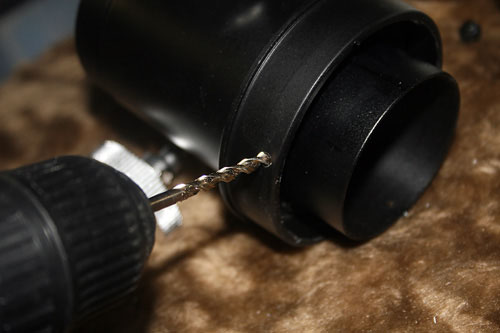
| You can then take it all apart again. Slip the 5/32" into the drill and drill out the holes in the focuser and the brass strip. This will allow the screws that came with the focuser to seat only in the body tube. | Here you can see the larger 5/32" hole for the screw, and the 7/64" hole to hold the screw in the body. |
|
|
|
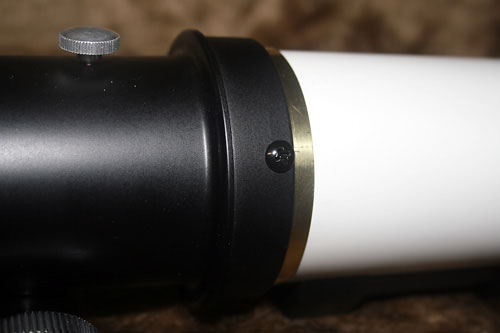
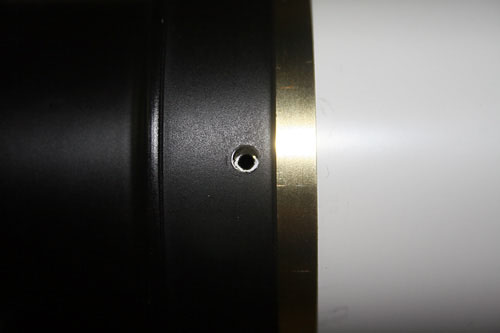
| Now, you just place all three screws in the focuser and tighten. The focuser is now attached. | A closer look at the flange with the brass strip and screws. |
 |
 |
| All that is left to do is reinstall the Lens Cell and Dew Shield. Check for alignment, and get ready to use your new scope. | A look from the focuser end. |
 |
|
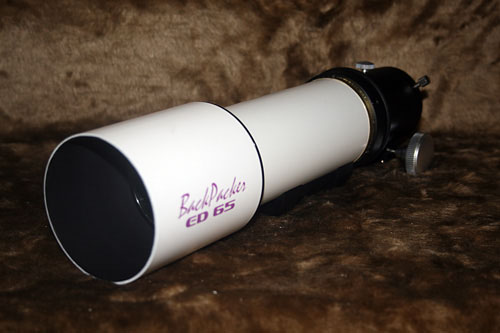
| The Burgess Optical Special BackPacker ED65. |
This page was last updated on March 22, 2008